


When working with a new ClickDimensions customer, one of the first things I always introduce them to is the tag functionality built into ClickDimensions email template records. By simply adding some tags to our templates, we can easily build out custom views to segment out our different template types.
The tags functionality can be found on the email template record:
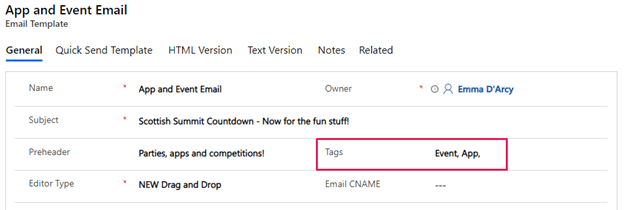
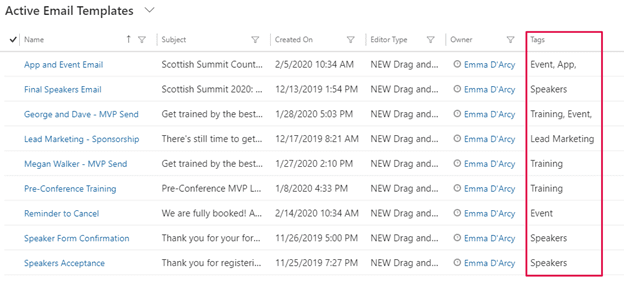
The Tag field is simply a text field that is searchable. I recommend separating your tags with either a colon or a semicolon, as this will make searching later much easier. You will start to build out a catalog that may look something like this:
Once you have fitted your templates with the various tags, you can start to build out the Microsoft Dynamics views that will help make template sorting much easier. This can be done either by the individual who can then share their views or by a System Admin who can build out system views to be used across the entire organization. For this example, I will share how to build a personal view.
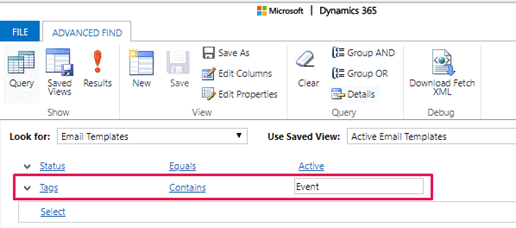
Personal views are built from the advanced find functionality which can be found in the top right corner of the screen in Dynamics:

From here, we will filter out templates with a specific tag. In my case I am building a view that shows me all event type templates:
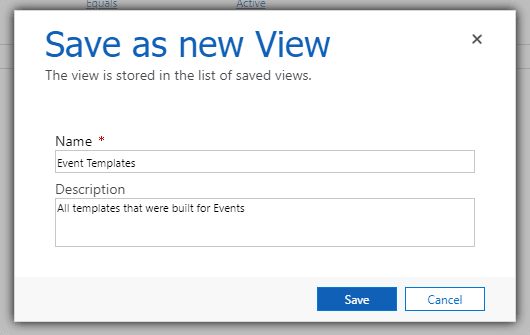
The Results button can be used to ensure the query is pulling back all the correct templates. Once you have verified you have the right query, you can now save the view by clicking on the Save As button and renaming your view:
Once saved, you will now notice that you have an extra view to look at templates:
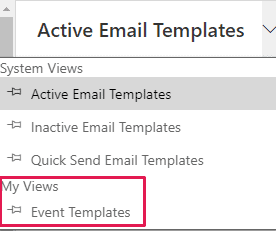
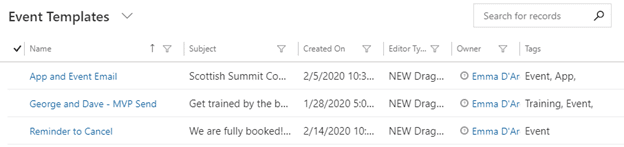
This view will now only return all records that have been tagged as Event:
As a bonus step, you can also share personal views (if the System Admin has given the appropriate permissions). To share a view you have created, go to the Saved Views section of the advanced find:
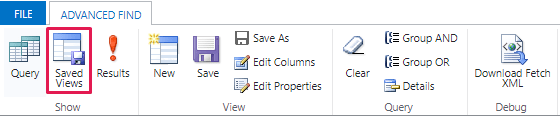
This will list out all your saved views. From here you can select the view(s) you wish to share and click the “Share” button:
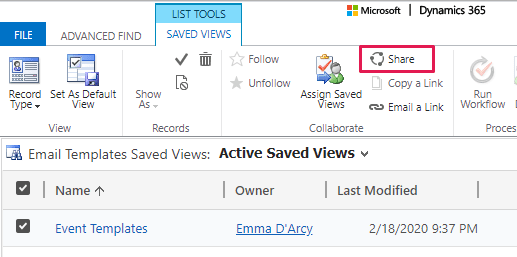
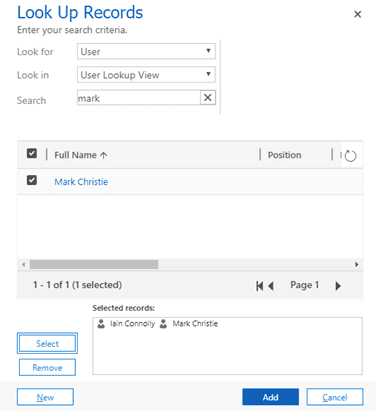
Select the users or team you wish to share the view with and click Add.
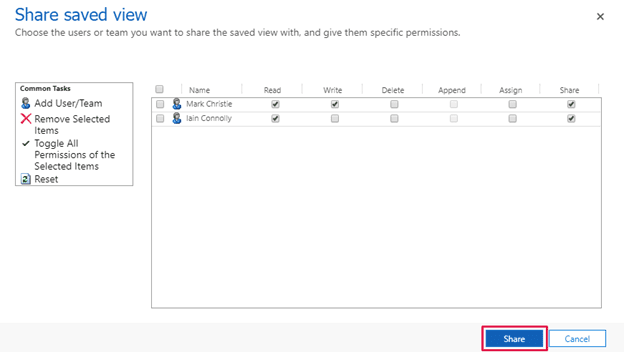
Once the users or teams have been added, you can now designate what level of access you would like each member to have and click Share.
Now you can create your own views that help keep your team organized!

Related Resources

How Sales and Marketing Alignment is your Key to SMB Success
Many small to medium businesses (SMBs) often grapple with one common challenge: disjointed sales and marketing communications. This misalignment can lead to missed opportunities, frustrated customers, and ultimately hindered [...]

How to Improve your Account and Buyer Insights
Understanding your target accounts and buyers is critical in today's competitive business landscape. However, many small to medium sized businesses (SMBs)face one common hurdle: the absence of comprehensive account [...]

Navigating the Sales Pipeline: Top 5 Challenges and Solutions
A well-managed sales pipeline is the lifeblood of any successful sales operation. However, it's not without its challenges. Small to medium sized businesses (SMBs) with well-defined sales processes and [...]
")
